Before removing the first shelf
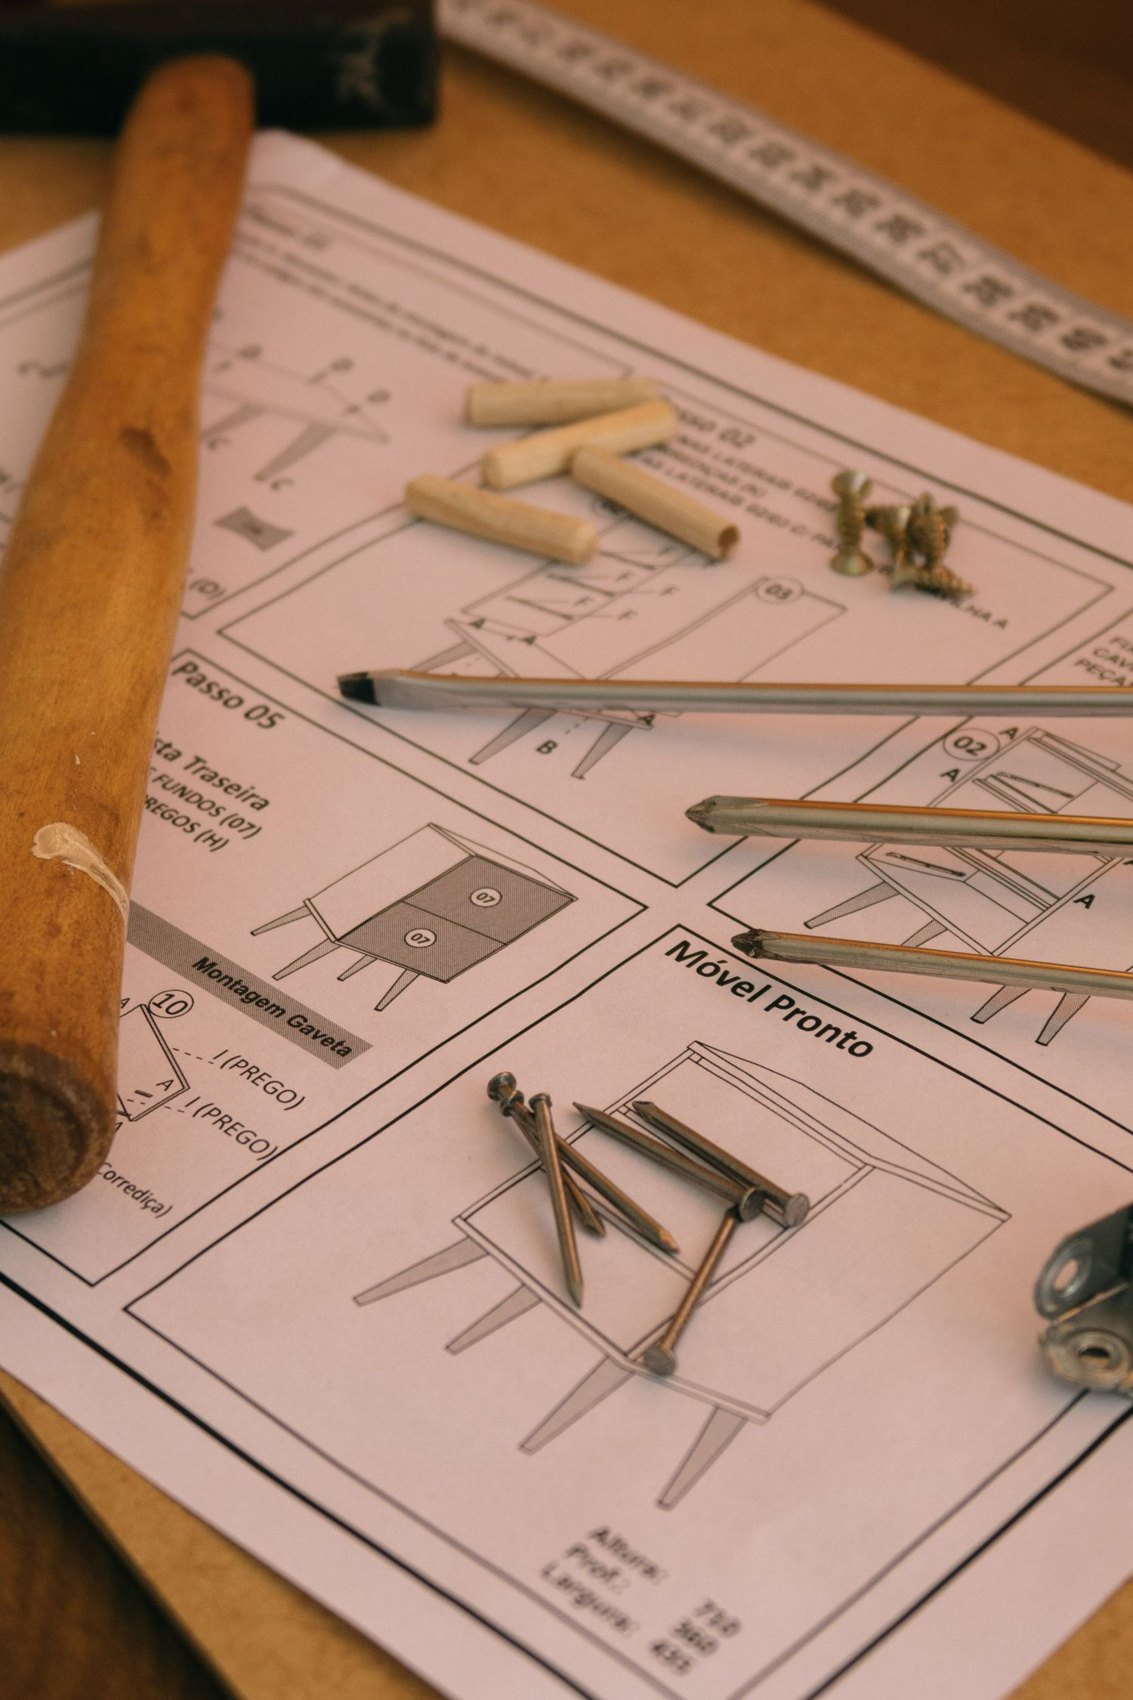
Empty the unit completely and photograph each compartment. Distinguish structural shelves from loose adjustable boards. The assembly instructions show which parts can be released and in what order. Do not remove fixed shelves first simply because their screws are easy to reach; doing so changes the remaining structure. Release any wall restraint only as part of a planned, supported dismantling step.
Give the unit a code and number its shelves from bottom to top. Record the existing compartment heights, perhaps by counting unused holes. You can then change the arrangement deliberately later without losing track of the original layout.
Preserve the front and orientation
Mark the front and top of every board on its packaging or a suitable removable label. A small scratch previously hidden underneath should not accidentally end up facing upwards. Different decorative edges may also show which face is intended to remain visible. Collect shelf supports in a separate bag; they easily disappear into folds in a moving blanket.
Label sections of a divided back panel left, centre and right. Photograph joining strips, grooves and overlaps. Keep removed fasteners only if they remain suitable; do not automatically reuse bent nails or damaged clips.
Support the full panel and store in order
Give thin back panels adequate support across their surface. Do not slide them loose between heavy furniture where a corner can catch or a panel can bow. Separate finished surfaces with clean, non-abrasive material. Keep bundles manageable; several small packages are easier to identify than one very heavy stack.
During assembly, inspect edges and connection points first. Align the frame as instructed before fixing the back panel in its final position. Fill the shelves only after assembly and any required restraint are complete. Use the overview photographs to restore the compartment heights you want.